How to Clean Solar Panels UK (2026) — Step-by-Step Guide

How to Clean Solar Panels in the UK — The Right Way
Dirty panels cost you real money. A straightforward 30-minute clean can recover up to 25% of lost output — if you do it correctly. Here’s exactly how, from someone who designs solar systems for a living.
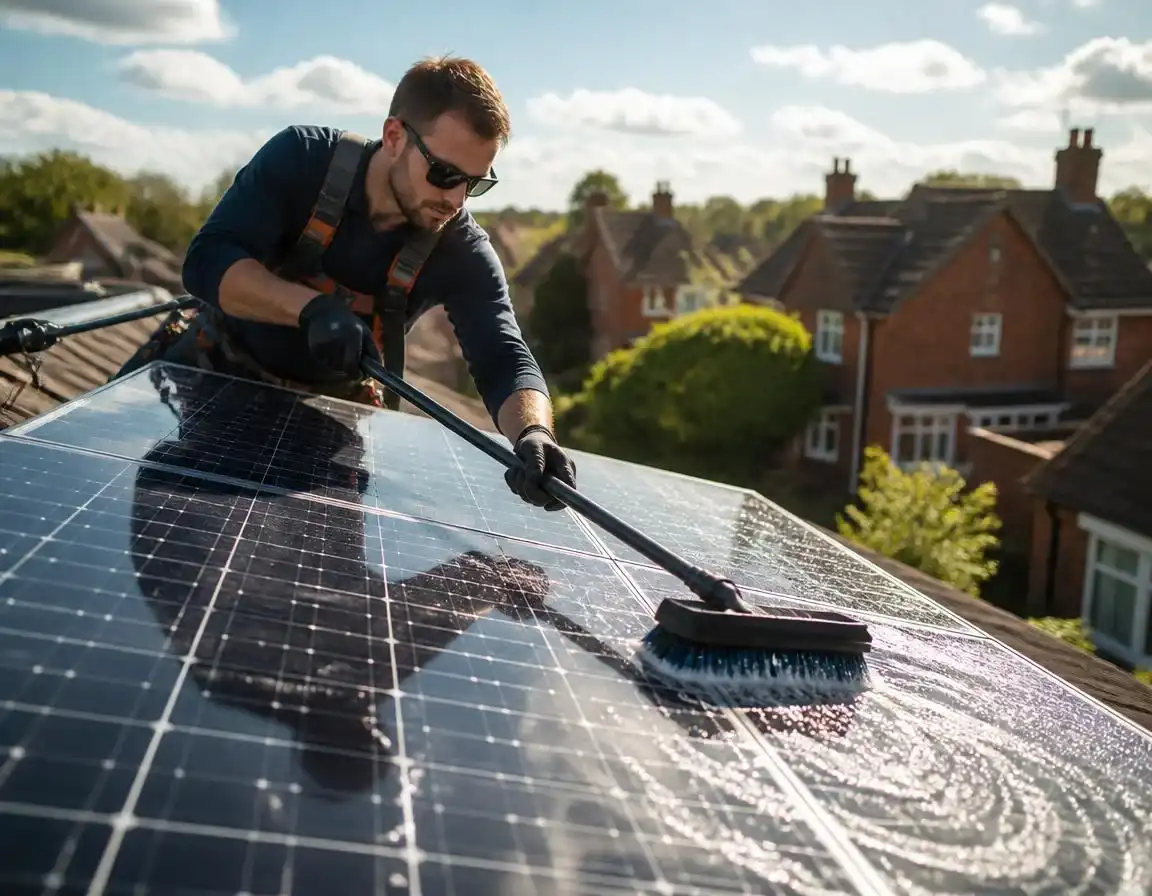
Use a soft-bristle brush on a telescopic water-fed pole with lukewarm water and a small drop of mild washing-up liquid. Clean early morning or late evening. Work from the ground. Never use a pressure washer. For most UK homes, once or twice a year is enough — but check your monitoring data first.
When homeowners ask me about cleaning their solar panels, most of them have already made at least one mistake. Usually it’s reaching for the garden hose at full pressure. Sometimes it’s scrubbing a panel with a rough cloth. And occasionally it’s simply never thinking about it at all, assuming the rain does the job.
Rain helps. The hydrophobic (water-repelling) coating on modern solar panels does a decent job of shedding light dust with each downpour. With the UK averaging 700–1,300mm of rainfall a year, many pitched-roof systems stay reasonably clean without ever being touched. The Energy Saving Trust goes as far as saying some homeowners may not need to clean their panels at all.
But there’s a catch. Rain can’t remove bird droppings, tree sap, traffic film, pollen residue, or lichen. These stick. A single bird dropping on one panel can reduce that panel’s output by 20–30% if you have a string inverter — because string systems are limited by the weakest panel in the chain. That’s not a rounding error; that’s real money, and it’s easy to fix. Persistent soiling can also affect long-term panel health over time — see our guide on how long solar panels actually last in the UK for the full picture.
How Much Output Do Dirty Panels Actually Lose?
Efficiency Loss by Contamination Type — UK Solar Systems (2026)
Source: Solar Love, Solar Cleaning South West, BestBuilders, Fraunhofer CSP (2026). UK residential data.
On a typical UK 4kW system saving around £700 a year, a 7% soiling loss means you’re losing roughly £49 per year. At 15%, that’s £105. At 25%, £175 — gone, for the sake of a 30-minute clean. Over 10 years, that’s a significant chunk of your system’s financial return simply wasted. That includes lower Smart Export Guarantee payments too, since less surplus electricity means less to export. Curious what soiling could be costing your own system? Try our solar panel calculator.
How Often Should You Clean Solar Panels in the UK?
The honest answer is: it depends on your location, your surroundings, and what your monitoring data tells you. The table below gives the practical guidance I’d give my own customers.
| Property Type | Recommended Frequency | Main Culprit |
|---|---|---|
| Standard UK home, pitched roof | Once a year (late spring) | General dust, pollen |
| Near busy road or motorway | Every 6 months | Traffic film, exhaust deposits |
| Within 1km of coast | Every 3–4 months | Salt crystals, which etch coatings |
| Near farmland or unpaved roads | Every 4–6 months | Agricultural dust, silage spray |
| Under trees | Every 6 months | Bird droppings, sap, leaf debris |
| Flat or low-pitch roof (<15°) | Every 3–4 months | Water pooling, mineral deposits, moss |
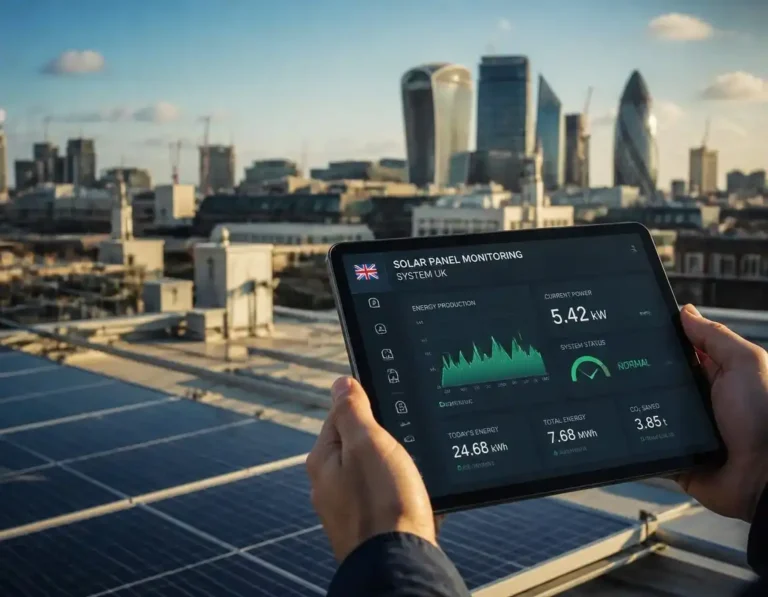
Every MCS-certified install since 2024 includes a monitoring platform — GivEnergy, Solis Cloud, Tesla, SolarEdge, or Sigenergy. If your daily output has dropped 5% or more compared to the same period last year (accounting for weather), that’s your cue to clean. Don’t clean on a schedule if your data says the panels are performing fine.
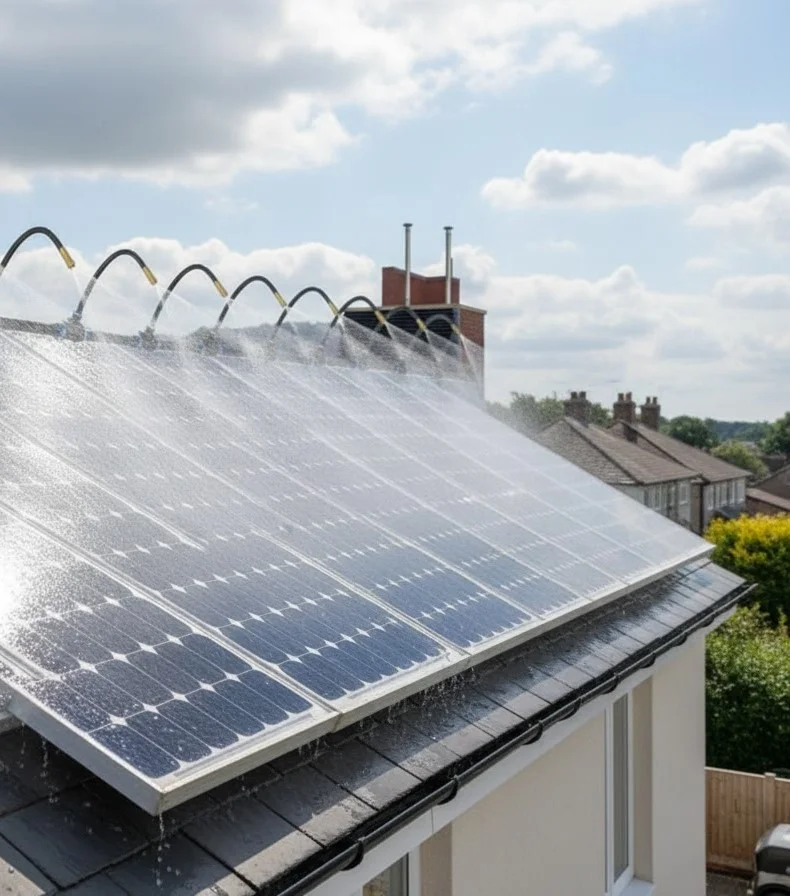
Automatic Cleaning Setup With Water Sprinklers
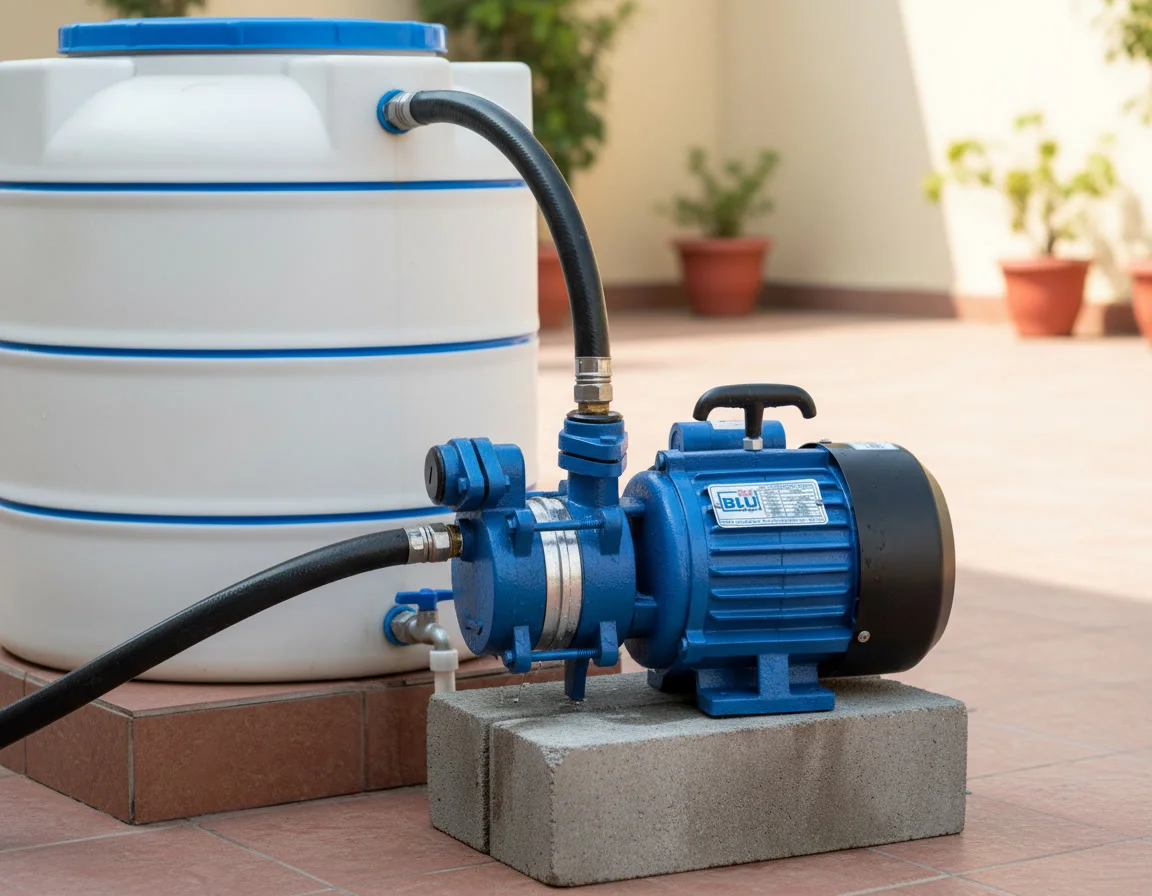
You can build a complete automatic water sprinkler setup for your solar panels within two hours on your own. All you need is a water pipe (CPVC or PVC) of the appropriate length to run along the edges of the panels, sprinklers, joining solvent, a few T-shaped connectors, and a small pumping motor — only if the water pressure in your pipeline is low.
The primary requirement for the sprinkler setup to function properly is water pressure. If the water pressure at the solar panel site isn’t adequate, the sprinklers won’t be able to throw water with the force needed. With suitable pressure, dust and mild dirt will simply bounce off the panels — the only effort you would require to run the setup is to just switch it on with a single button.
Step-by-Step Guidance to Install the Water Sprinkler Setup
- Check the water pressure in the pipeline to make sure it can generate an adequate stream onto the panels. If it can’t, order a water pumping motor accordingly.
- Measure the length of your solar panel setup so the water pipe can run along the edges of the panels.
- Work out how many sprinklers you need — generally 2 sprinklers per panel for a 4 ft × 8 ft panel is enough, you can adjust it according to your own panels’ dimensions so the sprinklers cover the entire area.
- Cut the pipe to size and fix the T-shaped connectors in place with adhesive solvent (the sprinklers need to be attached to these connectors later) — or skip the cutting altogether and buy a ready-made sprinkler setup (linked below).
- Fix clamps along the edge of the solar panels so the pipe and sprinklers sit securely and won’t shift in strong wind. Adjust the pipe’s position on the clamps to line up with the sprinklers.
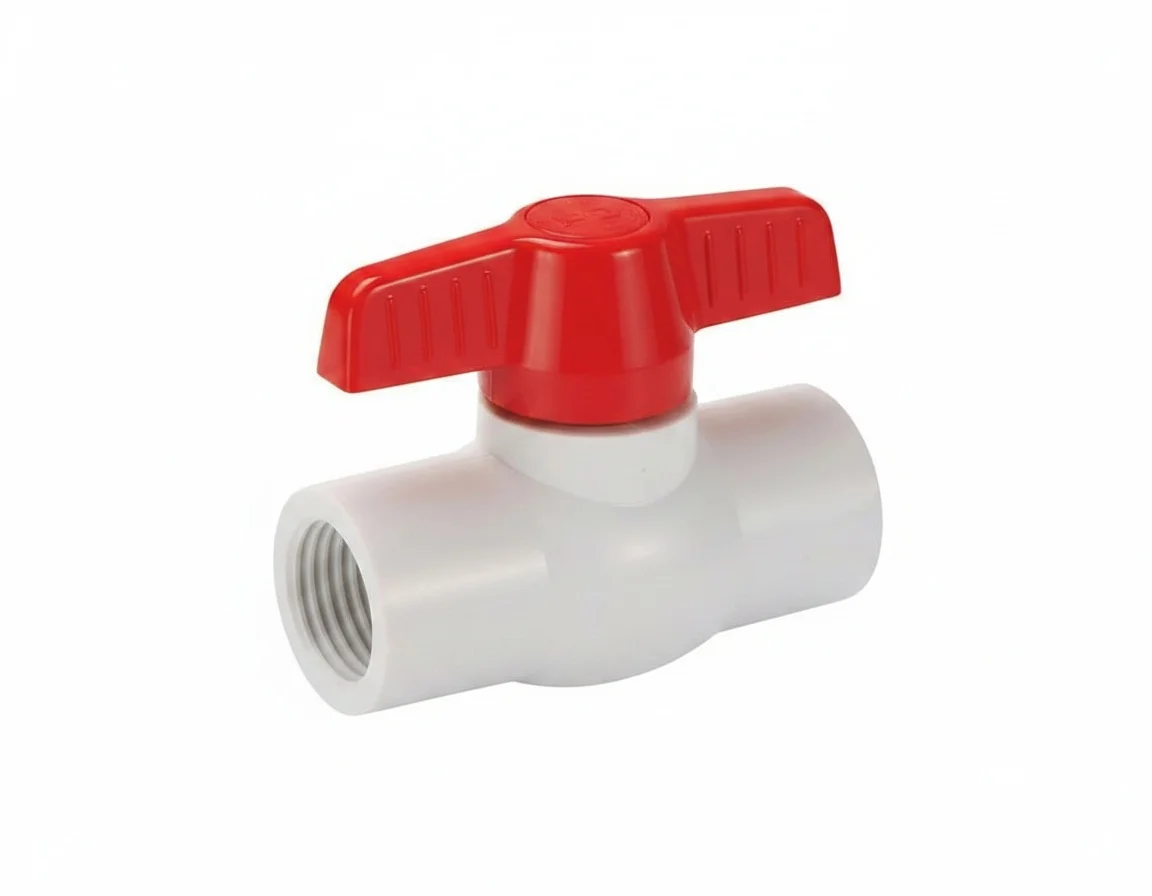
- Fit a valve at the start of the pipe to turn the water supply on and off.
With a single push of a button, you can start the pumping motor, turn the valve on, and have your panels washed in under 10 minutes — no hassle.
All of the items below are available on Amazon, so you can order everything from home and get it installed.
CPVC/PVC Water Pipe — Buy on Amazon
Clamps for holding the pipe, and the T-shaped connectors, can be bought from your local sanitary or hardware shop.
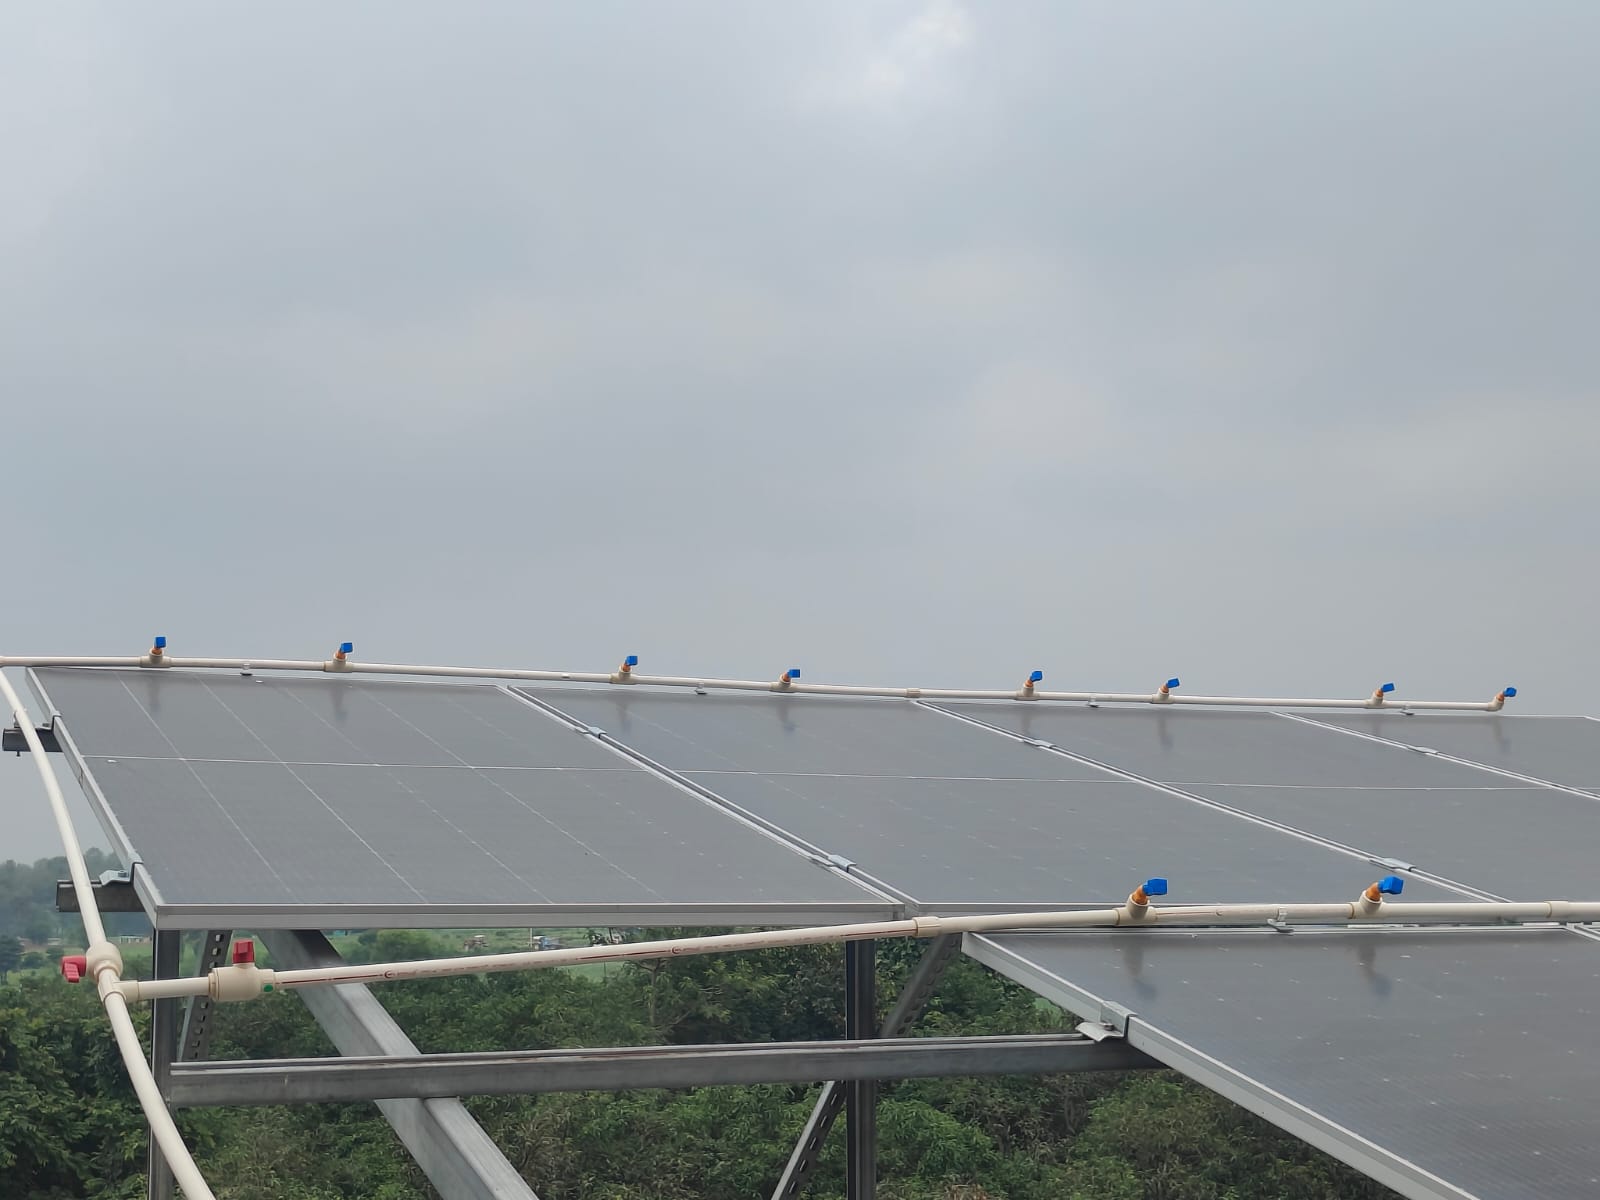
After the setup is installed, it should resemble the real life setup as below:
Equipment for DIY Solar Panel Cleaning
You don’t need specialist kit for a standard domestic clean. Here’s what works — and what to look out for when buying.
Soft-Bristle Brush
Designed for solar panels or soft car-washing. No stiff bristles — they scratch the anti-reflective coating.
Telescopic Pole
Extendable to at least 5m. Models with integrated water feed are best — brush and rinse in one pass.
Deionised or Rainwater
Tap water leaves limescale streaks. Deionised water (from a local supplier, ~£2/litre) leaves no residue at all.
Mild Washing-Up Liquid
Just a few drops in a bucket. No ammonia, bleach, alcohol, or abrasive compounds — these damage coatings.
Rubber Gloves
Protect your hands. Deionised water draws minerals from skin — not harmful but uncomfortable over time.
Monitoring App
Check your output before and after. A good clean should recover lost generation visibly within the first sunny day.
How to Clean Solar Panels UK — The Safe Method
Check Conditions
Only clean when panels are cool — early morning (before 8am) or evening (after 6pm). Cleaning hot panels causes thermal shock, which can create microcracks. Never clean in direct strong sunlight; soap evaporates immediately and leaves streaks.
Turn the System Off
Switch your inverter to standby using the DC isolation switch. This is a safety step — water and live electricity shouldn’t mix, even though panels are relatively low-voltage DC. Check your inverter manual if unsure.
First Rinse
Using a low-pressure garden hose or water-fed telescopic pole, rinse the panels top to bottom with lukewarm water. This removes loose dust and debris before you start brushing, reducing the chance of scratching.
Brush Gently
Apply a very small amount of mild washing-up liquid to the soft-bristle brush. Work in gentle, overlapping strokes — always top to bottom. For stubborn bird droppings, let water soak for 2–3 minutes first. Never scrape.
Final Rinse
Rinse thoroughly with clean water to remove all soap residue. If you’re using deionised or rainwater, you can let it air-dry naturally — it won’t leave any mineral streaks. Tap water should be rinsed off quickly.
Check Your Output
Turn the inverter back on and check your monitoring app on the next sunny day. A successful clean should recover your output visibly. Log the date — it helps you track how quickly soiling builds up between cleans.
What to Do and What to Avoid
- Use a soft-bristle brush and lukewarm water
- Clean from the ground with a telescopic pole where possible
- Work early morning or late evening when panels are cool
- Use deionised or rainwater for a streak-free finish
- Soak stubborn droppings in water before cleaning
- Turn the inverter off before you start
- Check your monitoring app before and after
- Use a pressure washer — damages seals and coatings permanently
- Use abrasive cloths, scourers, or wire brushes
- Clean in midday heat — thermal shock can crack cells
- Use ammonia, bleach, alcohol, or harsh detergents
- Walk on the panels or the roof to reach them
- Scrape dried droppings dry — always soak first
- Ignore your warranty terms — some require specific methods
A 2026 study by Fraunhofer CSP found that three out of five commercially-sold solar cleaning products caused permanent damage to the anti-reflective coating. Some manufacturers — including Canadian Solar and Trina — require documented cleaning with approved methods before they’ll assess a warranty claim. Mild washing-up liquid in water, or plain deionised water, is the safest approach for nearly all UK residential panels. For a full breakdown of what’s typically covered, see our guide to solar panel warranties in the UK.
Should You Clean Them Yourself or Hire a Professional?
For most UK homeowners with a single-storey or accessible two-storey roof, DIY cleaning from the ground with a telescopic pole is perfectly straightforward and safe. The tools pay back within a couple of cleans. However, there are situations where professional cleaning genuinely makes sense — particularly if there’s lichen, moss, or you can’t reach safely. If you’d rather leave it to the professionals, our Find an Installer directory can point you towards MCS-certified specialists near you.
| Factor | DIY | Professional |
|---|---|---|
| Cost per clean | £15–£30 (equipment amortised) | £60–£180 depending on system size |
| Time | 30–60 minutes | 30–90 minutes (you’re not involved) |
| Water quality | Depends on your setup | Deionised water standard |
| Lichen / moss removal | Not recommended DIY | Specialist treatment available (+£50–£150) |
| Safety for two-storey+ | Risky without proper pole reach | IPAF-certified, insured access |
| Warranty compliance record | No written record | Written report with date and method |
| Best for | Single-storey, accessible roofs, light soiling | Two-storey+, lichen, warranty requirements, coastal properties |
Professional cleaning costs in the UK (2026): expect to pay £60–£100 for a single-storey home with 6–8 panels, £90–£150 for a two-storey property with 8–12 panels, and £120–£180 for larger systems. Annual maintenance contracts are typically 20–30% cheaper per clean and usually include an inverter health check and photographic before-and-after report. For coastal and agricultural properties requiring quarterly cleans, a contract almost always works out better value. When choosing a company, look for membership of a recognised consumer code such as RECC for extra peace of mind.
Your Solar Cleaning Questions Answered
More From SolarBriton
Sources: Energy Saving Trust, Fraunhofer CSP (2026), Solar Love (April 2026), BestBuilders UK (June 2026), SurgePV (May 2026), Solar Cleaning South West (April 2026).
↑ Back to top