Solar Panels Causing Damp? The Silent Destroyer in UK Homes

It starts with a faint musty smell in the loft. Then a box of old photos goes wavy. Then, one grey Tuesday, a stain blooms on the bedroom ceiling — right beneath the panels you had fitted to save money, not to redecorate. I’ve been writing about UK solar long enough to know this story, and here’s the truth in one breath: the panels aren’t the problem — poor installation is. Here’s exactly how bad installs let water in, how to spot it early, and what it costs to put right in 2026.
Can solar panels cause damp? The panels themselves, no — a botched install, absolutely yes. Done properly on a sound roof, solar leaves your home as weathertight as it was before. But when corners get cut, water finds its way in through two routes: penetrating damp (rain sneaking past unsealed fixings or cracked tiles) and condensation damp (blocked loft ventilation trapping moist air, which then soaks into timbers, insulation and ceilings).
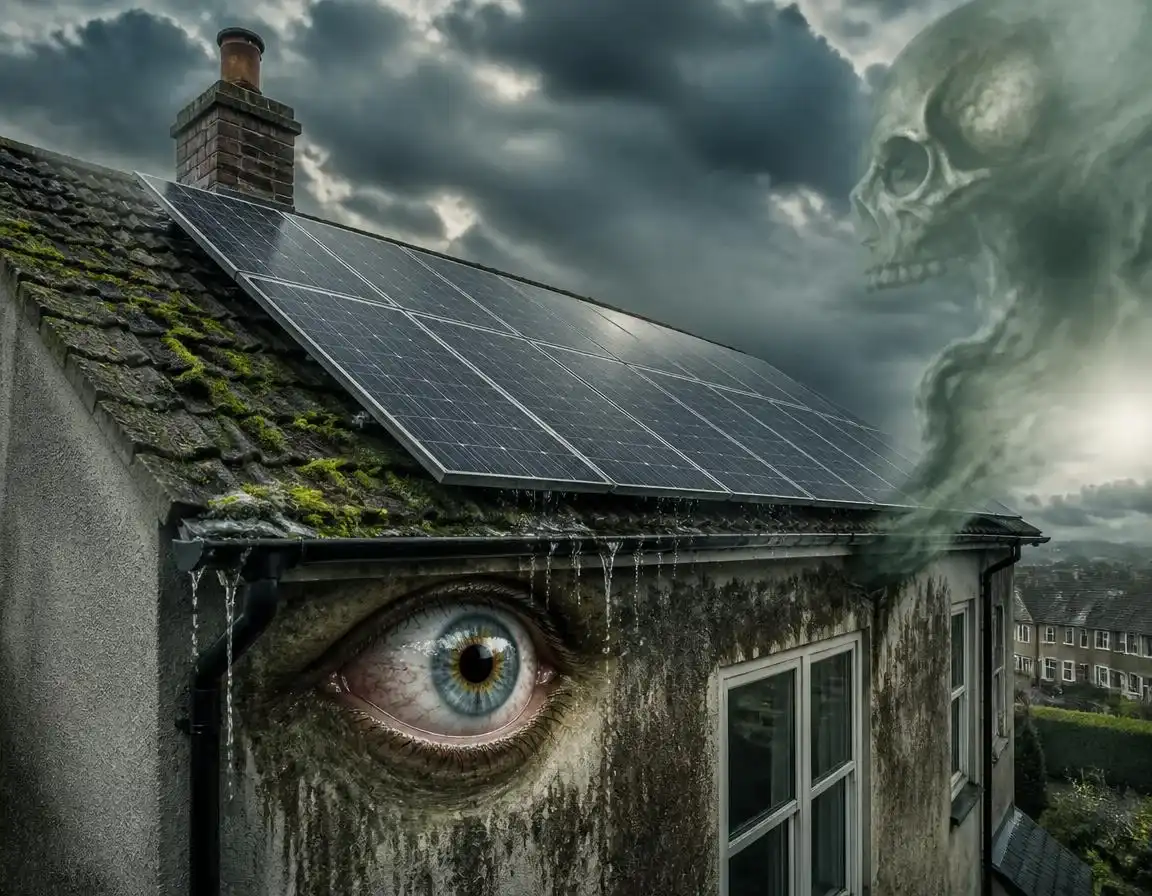
The cruel part is the silence. Unlike a burst pipe, install-related damp works slowly — months, sometimes years — before you see a stain. That’s why I call it what the headline says: the silent destroyer. My full do solar panels cause roof leaks? guide covers the leak side in depth; this page puts the whole damp picture together.
🕳️ How Poor Solar Installs Cause Damp: The 5 Silent Entry Routes
On a typical pitched UK roof, a 4kW system uses around 8–12 panels with roughly four fixings each — so about 40 small penetrations, every one of which should get a flashing or sealed collar with the tile re-bedded over the top. When that happens, rain runs over the roof, never into it. When it doesn’t, here are the five routes water takes:
Skipped sealant or a smeared-afterthought collar lets driven rain track down the bracket, through the batten space and onto the membrane. Classic penetrating damp, right above your ceiling.
Heavy boots on old, brittle tiles. A crack parked beneath a panel is invisible from the ground and drips quietly for months before a stain shows.
Panels — and especially in-roof systems — can block the airflow a cold roof relies on. Trapped moist air condenses on the underside of the roof, soaking insulation and growing mould. No rain required.
The hole drilled for the DC cable into the loft is tiny — and frequently left naked. Wind-driven rain follows the cable straight in.
Slate hooks on clay tiles, tile hooks on slate, or panels bolted to a roof that was already perished. The solar gets the blame; the roof was already on its way out.
🏚️ The Silent Destroyer: Why Damp Shows Up Months After the Van Leaves
Here’s the pattern I see again and again in homeowner forums and surveyor reports: the install happens in spring, everything’s fine through summer, and the first warped storage box or patch of black mould appears the following winter — by which time the installer’s phone may well be ringing into the void. Damp is slow, seasonal and invisible from the ground. That’s the whole conspiracy:
It’s not just a UK forum gripe, either. Connecticut’s Attorney General has taken repeated enforcement action against solar installers in recent years — including a $5 million judgment against Vision Solar and an active investigation into SunStrong — with unpermitted, substandard installation work a recurring theme across the complaints. The state’s own consumer guidance explicitly warns homeowners to check whether their roof needs reinforcing before panels go up, and that removal costs can fall on the homeowner if it wasn’t checked first. Britain’s weather (hello, horizontal rain) gives sloppy sealing an even harder test, and UK threads are full of “damp in roofspace after solar installation” stories that follow the exact timeline above.
🚨 7 Warning Signs Your Solar Install Is Letting Damp In
- 💧 Water stains that grow after rain — penetrating damp’s fingerprint, usually near a fixing line or panel edge.
- 🌫️ Misty loft on cold mornings or droplets on the underlay/nails — that’s condensation, not a leak.
- 🍄 Black mould on stored items or loft timbers, especially corners and north-facing eaves.
- 🧺 Soggy, clumped loft insulation — insulation drinks moisture like a sponge and dries like a sponge doesn’t.
- 📦 Warped boxes and curling photos in the loft — the earliest, most underrated clue there is.
- 🧱 Slipped or cracked tiles visible at the array edges (binoculars from the garden work fine).
- 👃 A musty smell upstairs that airing the house never quite shifts.
| Clue | Points to penetrating damp (leak) | Points to condensation |
|---|---|---|
| When it appears | After rain, worse in storms | Cold mornings, worse in winter |
| Where it shows | Localised stain under a fixing/panel line | Widespread: eaves, stored items, windows |
| Loft check | Damp patch on underlay near a hook | Misty air, droplets on nails, mouldy timbers |
| First fix to try | Installer inspection of flashings | Ventilation & moisture audit (BS 5250) |
The “rain test” vs the “cold-morning test” — the quickest way to tell which damp you’ve got.
📊 Damp & Leak Risk by Install Type (out of 10)
⛅ Not all installs touch your roof the same way
The pattern is obvious: the hardware matters less than the badge on the van. Certification is your damp insurance.
💷 Damp Repair Costs in 2026 — and Who Actually Pays
| Job | Typical 2026 cost (UK) | Who usually pays |
|---|---|---|
| Independent damp / roof survey | £150–£400 (up to £600 for big or complex homes) | You — but often recoverable if a warranty claim succeeds |
| Re-sealing hook points / swapping cracked tiles | £150–£400 | Installer, free to you, under the workmanship warranty |
| Average roof repair | ~£530 | Warranty ➜ buildings insurance ➜ you, in that order |
| Replacing membrane sections / rotted battens | £500–£2,500 | Warranty / insurance-backed guarantee if installer at fault or bust |
| In-roof remedials (lifting panels to rebuild beneath) | £1,000+ in labour alone | Warranty / insurance-backed guarantee — keep your MCS certificate handy |
General UK averages for guidance; get itemised quotes. If the install caused it, the installer’s workmanship warranty (commonly 5–10 years) makes it their bill — and under the redeveloped 2026 MCS scheme, a separate insurance-backed product of at least 6 years protects you even if the firm folds. My warranty guide and installer-gone-bust guide explain exactly how to pull those levers.
🛠️ Found Damp After Solar? Do This, in This Order
The stain, the loft side, the roof outside, the weather that week. Evidence wins warranty claims — silence loses them.
It tells your installer (and any surveyor) whether you’re chasing a leak or a ventilation fault — two very different fixes.
If the install caused it, their workmanship warranty makes the repair their problem and their cost.
Use your MCS certificate to open a complaint and claim on the insurance-backed guarantee — that’s precisely what it exists for.
A damp or roofing surveyor (£150–£400) settles “install damage vs tired roof” — and tell your buildings insurer early, as policies expect it.
🛡️ The Damp-Proof Solar Checklist (Before & After You Buy)
☀️ Before you sign
- ✅ Survey the roof before the sales pitch — age, tiles, rafters, and a loft check for existing damp.
- ✅ If the roof needs replacing within ~5–10 years, re-roof first. Panels last 30–40 years; lifting them mid-life is pure waste.
- ✅ Verify the firm on the MCS register and/or TrustMark before paying a penny.
- ✅ Ask, in writing: which flashing/collar at each penetration? How is loft ventilation maintained (eaves, ridge, counter-battens)?
- ✅ Old or quirky roof (slate, listed, Victorian terrace)? Get specialist advice — my Victorian terrace guide and listed-building guide cover the extras.
- ✅ Roof beyond saving but you still want solar? Ground-mounted panels bypass your roof entirely.
🌧️ After the install
- ✅ Pop your head in the loft after the first proper storm — five minutes now saves four figures later.
- ✅ Check again at the first deep cold snap for misting or droplets on nails.
- ✅ Keep an eye on moss and debris at panel edges; it holds water against tiles. (Pigeon proofing helps too — see my pigeon mesh cost guide.)
- ✅ Book an annual check as part of routine solar panel maintenance — fixings, seals, vents.
- ✅ File the MCS certificate, warranty paperwork and install photos together. Future-you says thanks.
🏛️ The Rules That Keep Damp Out (2026 Edition)
One last honest word: solar is still one of the best upgrades a UK home can get — when it’s installed right, your roof is more protected, not less. The damp stories you read about are overwhelmingly the non-certified, too-good-to-be-true end of the market. Choose the badge, not the brochure, and the silent destroyer never gets in.
❓ Solar Panels & Damp: FAQs
Can solar panels cause damp in a UK home?
The panels themselves, no — a poor installation, yes. Badly sealed roof-hook penetrations and cracked tiles cause penetrating damp, while blocked loft ventilation (most often with flush in-roof systems) causes condensation damp. A certified MCS install on a sound roof leaves the home as weathertight as before.
How do I tell if damp after solar is a leak or condensation?
Use the timing test. Marks that appear or grow after rain point to a leak at a fixing, tile or cable entry. Damp that shows on cold mornings — misty loft, droplets on nails, mould on stored items — points to condensation from inadequate ventilation. A £150–£400 independent damp survey settles it in writing.
Who pays for damp repairs caused by a bad solar installation?
If the install caused it, the installer pays under their workmanship warranty (commonly 5–10 years). If the firm is unresponsive or has gone bust, MCS-certified customers can claim on the insurance-backed guarantee — at least 6 years under the 2026 scheme. Otherwise your buildings insurance or, last of all, your own pocket covers it.